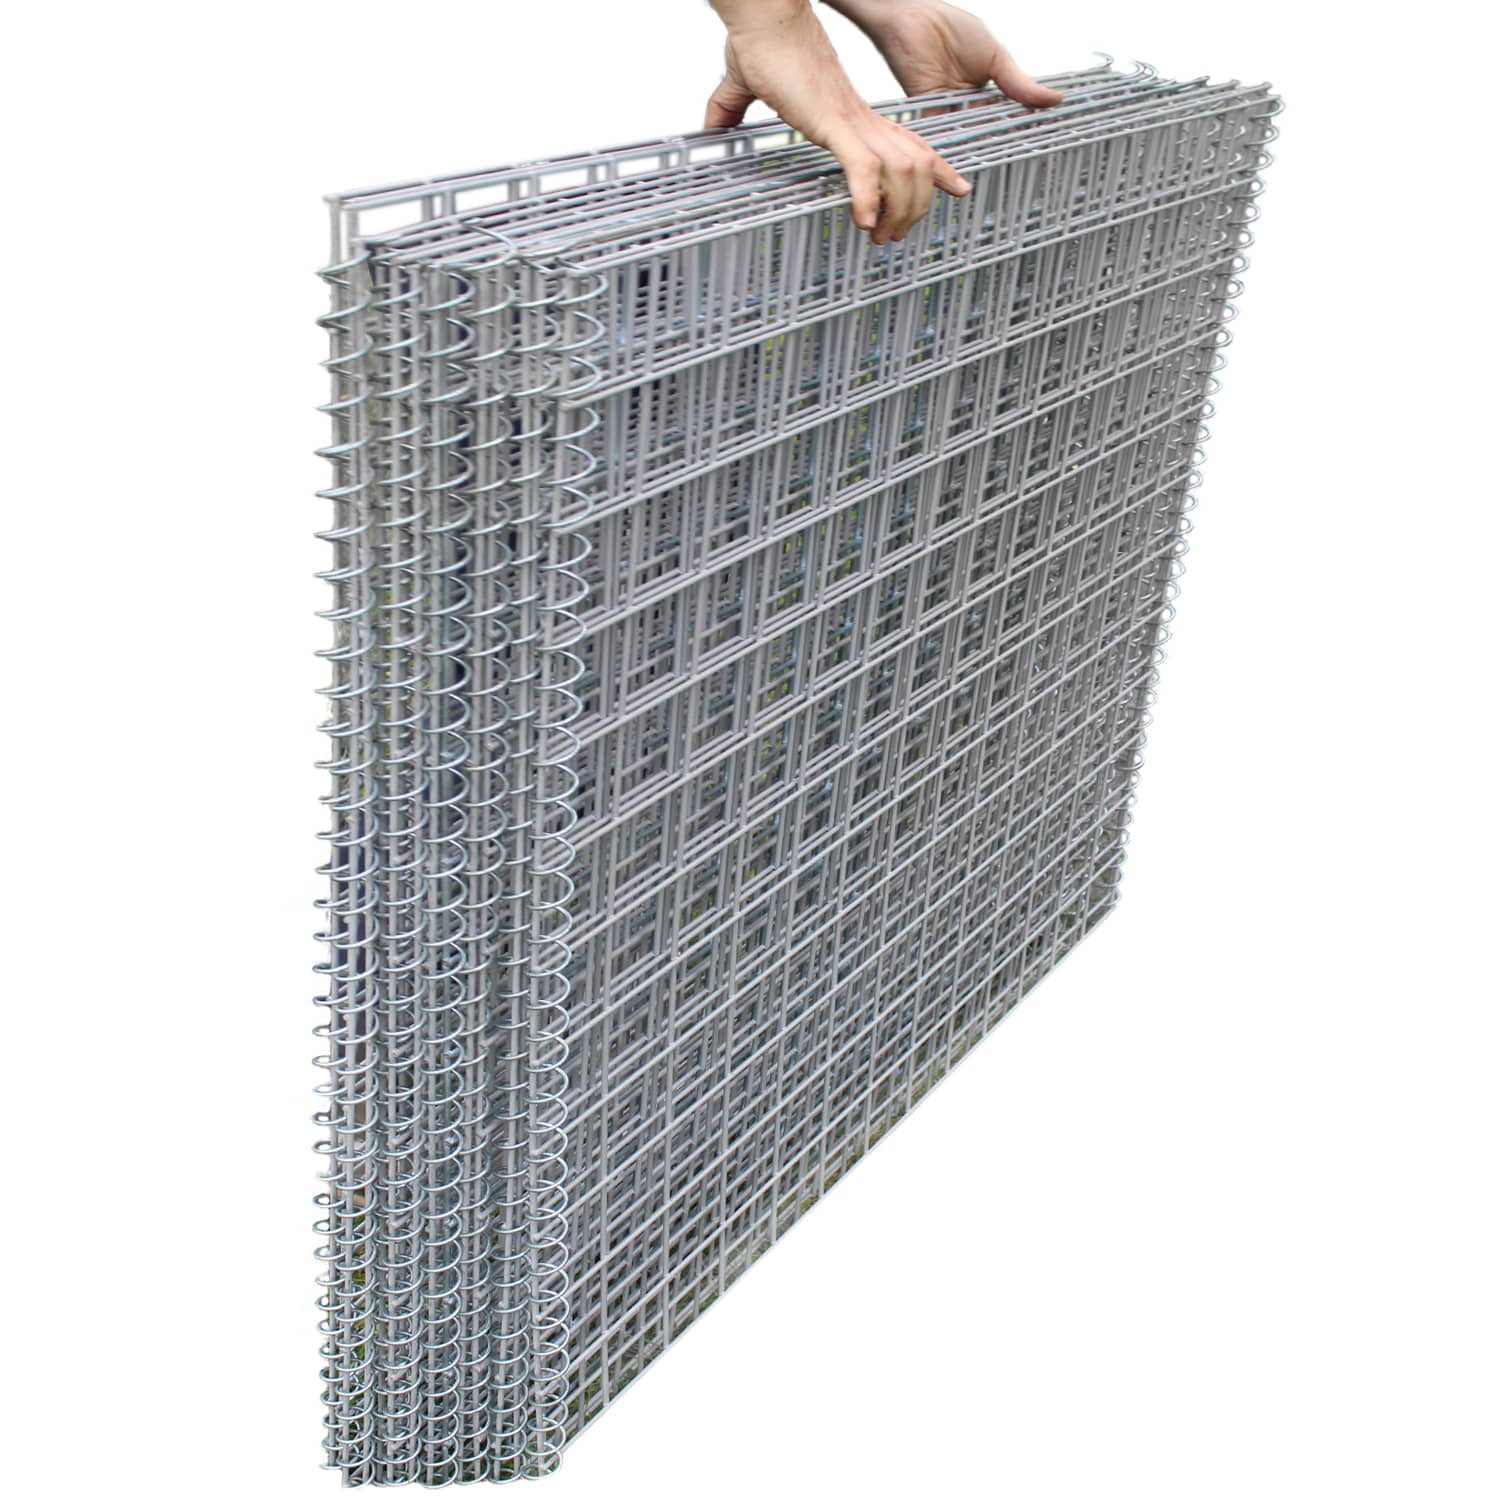
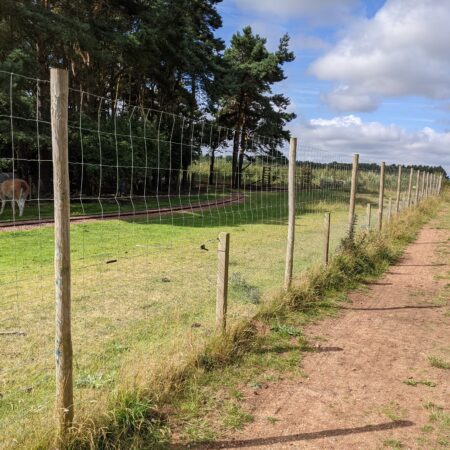
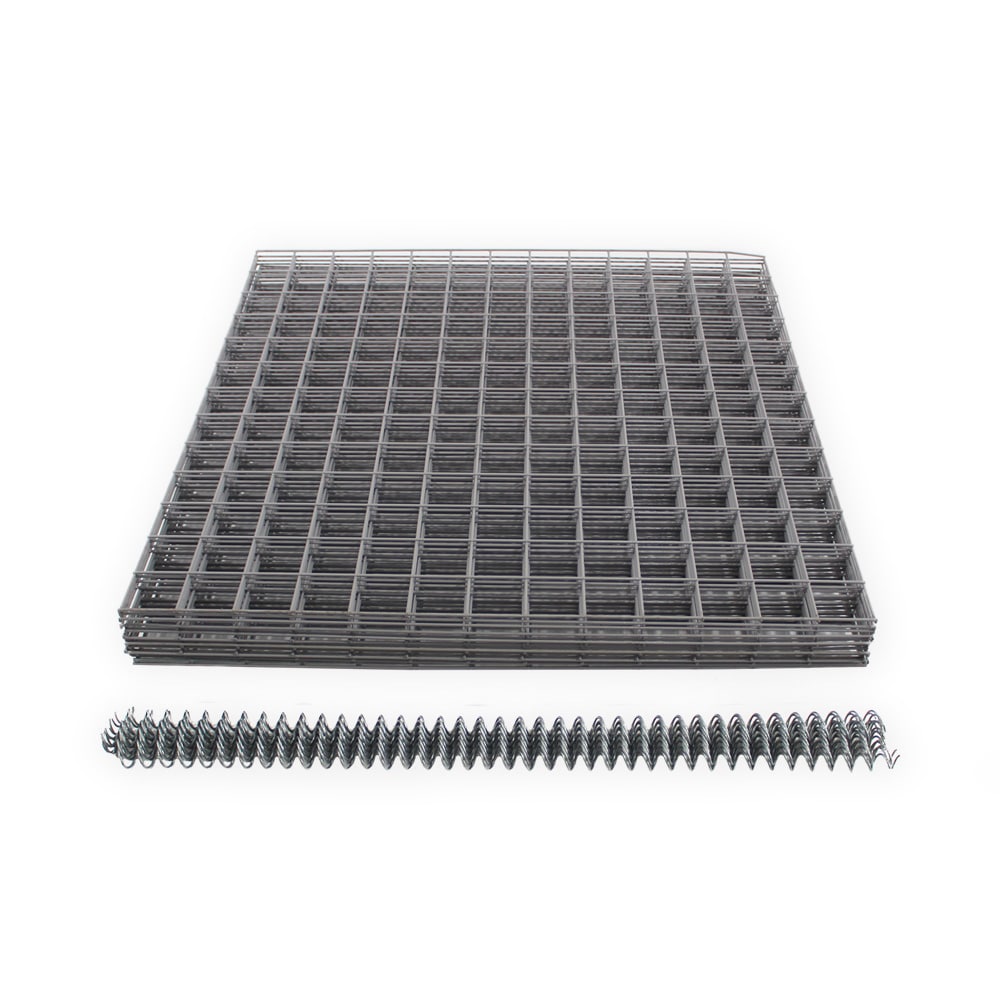
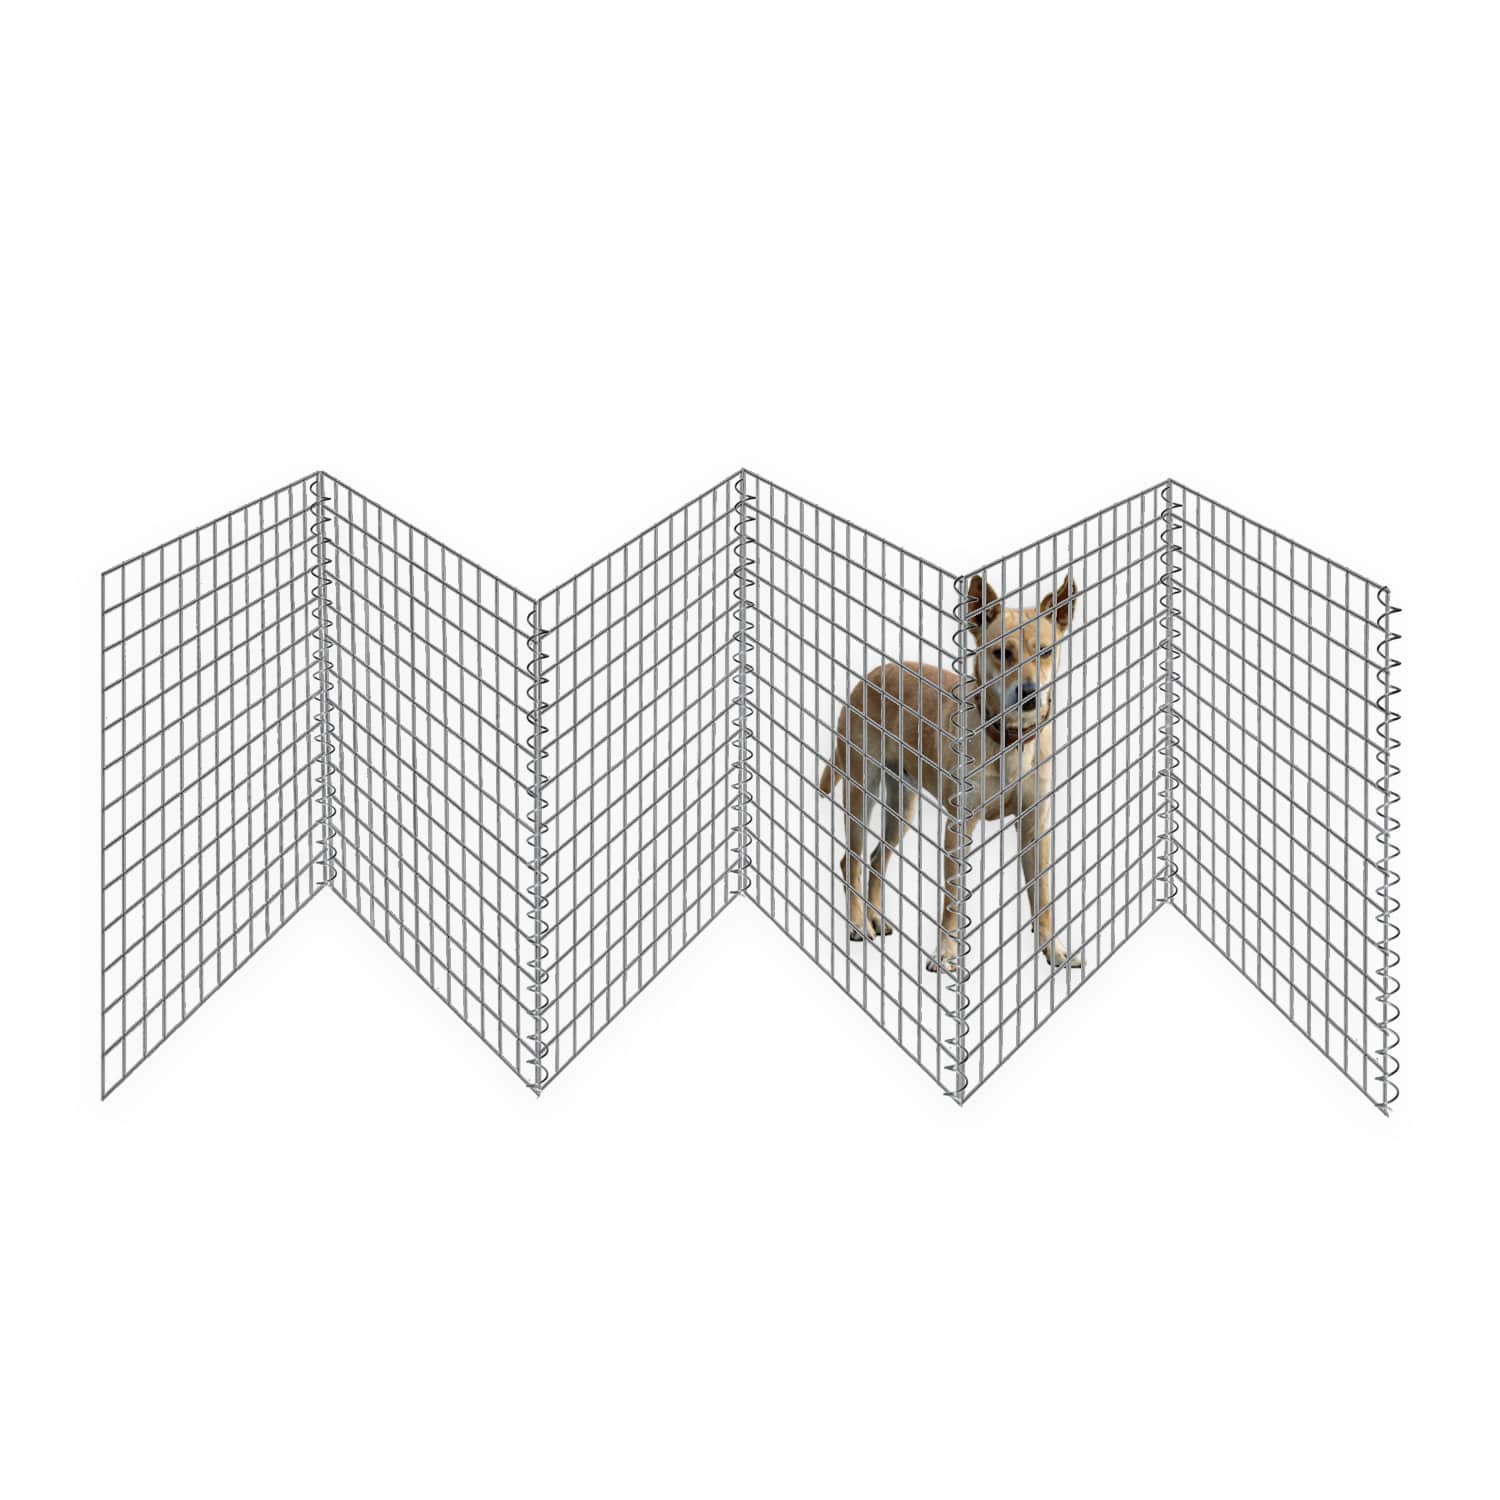
Freestanding Dog Barrier

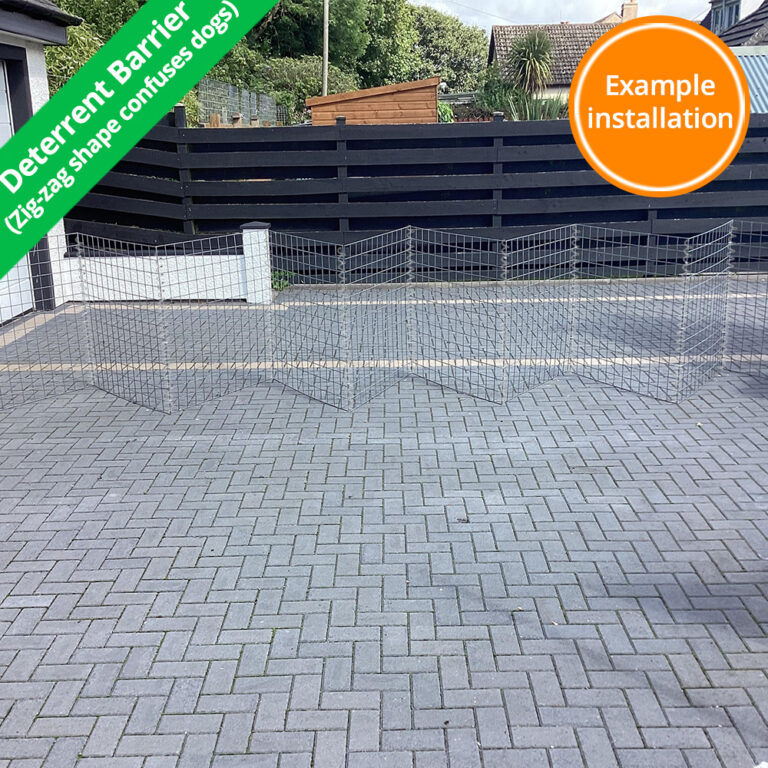
Flexipanel style freestanding dog barrier kits. Suitable for your yard, as temporary fencing or even a gate. Portable dog pen kits and lighter plastic options available.
Versatile use
Weather proof, durable & sturdy
Easy to install, fold up and put away
Scroll for more details

Product Information
| General | |
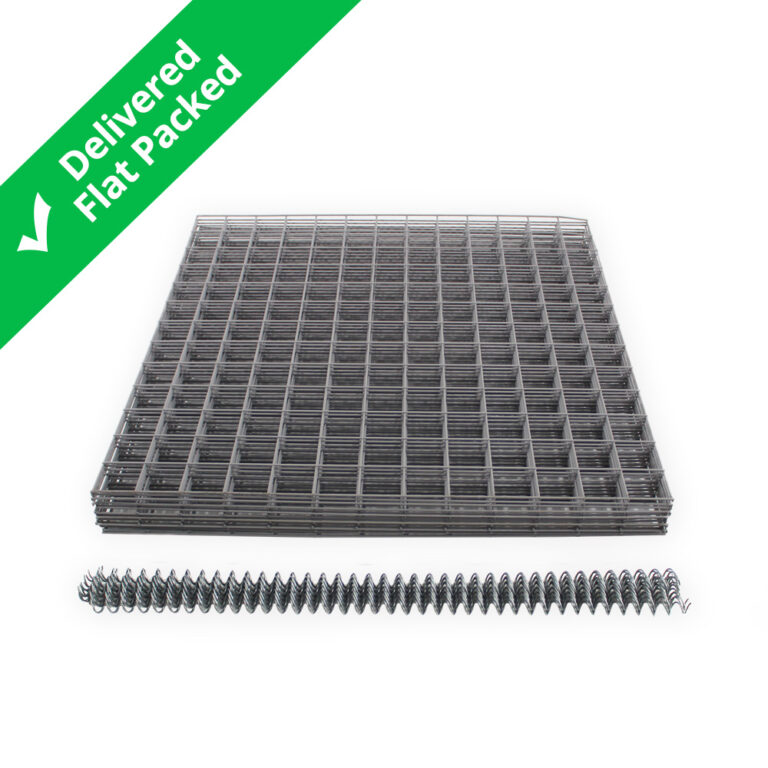
| Delivered as | Flat packed panels with all accessories included |
| Packaged in | Shrink wrapped in plastic |
| Manufactured in | UK |
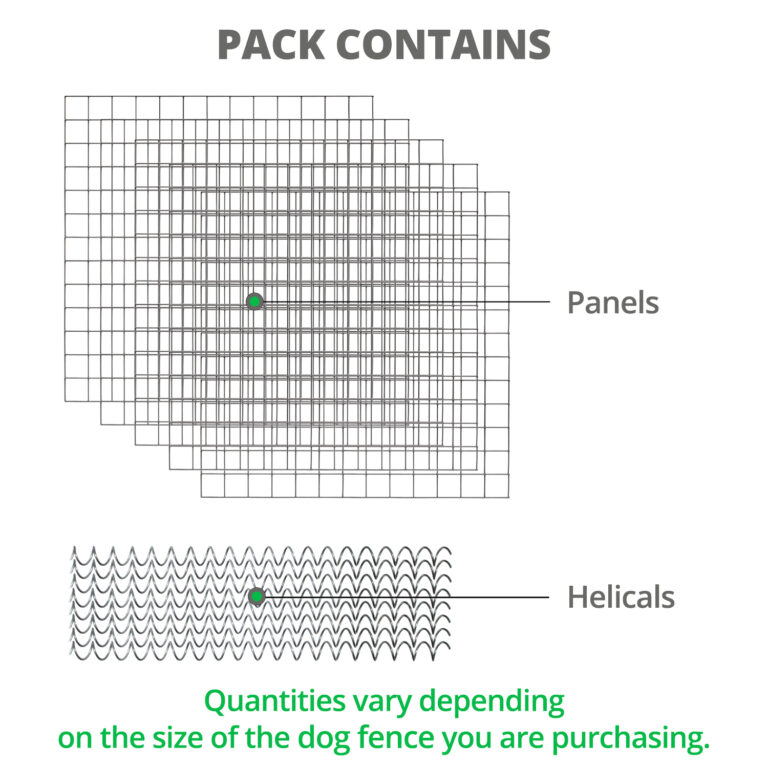
| Pack contains | Panels, spiral panel connectors |
| Ease of installation | No experience required |
| People required to install | 1 |
Specifications
| Construction | |
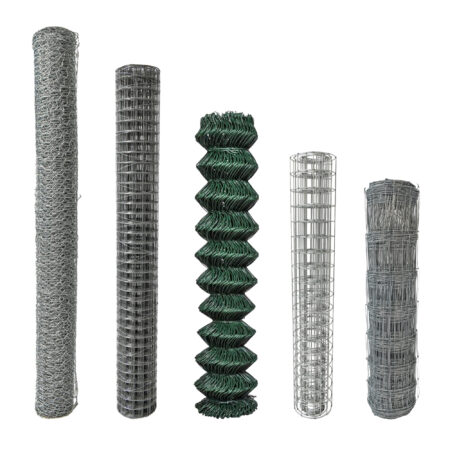
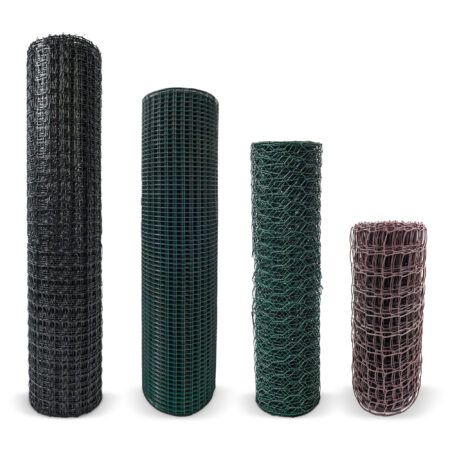
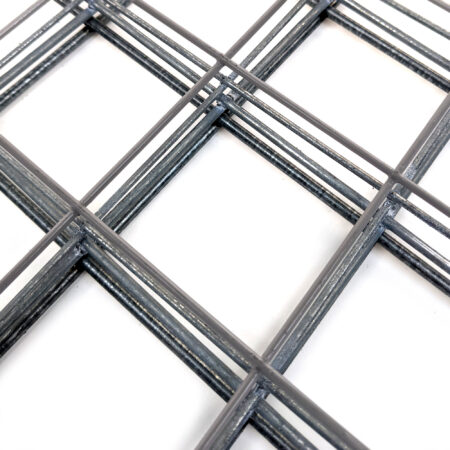
| Material | Galfan coated steel (Zn + Al alloy coating, equivalent to 3x galvanised) |
| Coating | PVC (poly-vinyl chloride) |
| Mesh construction | Welded |
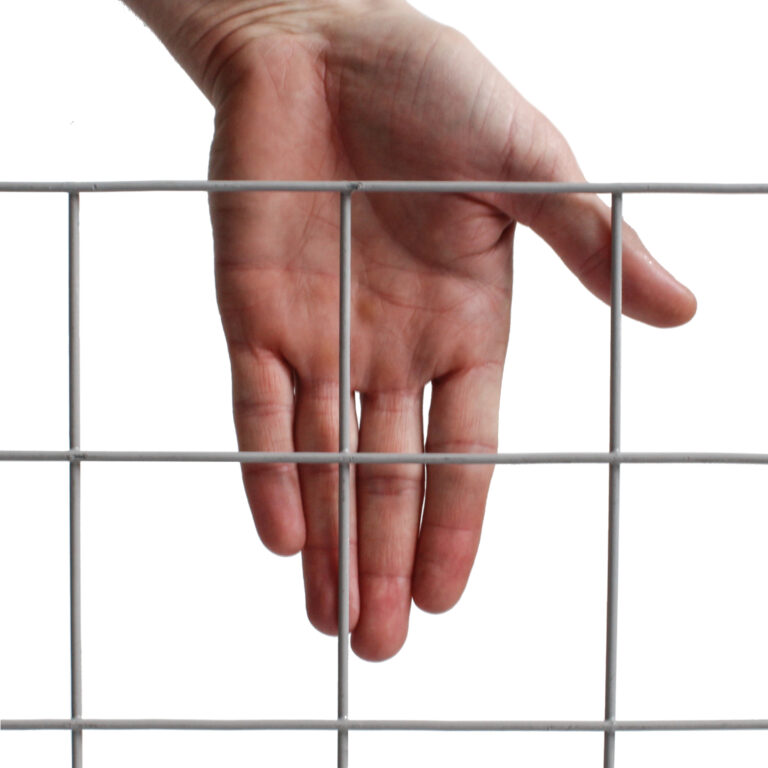
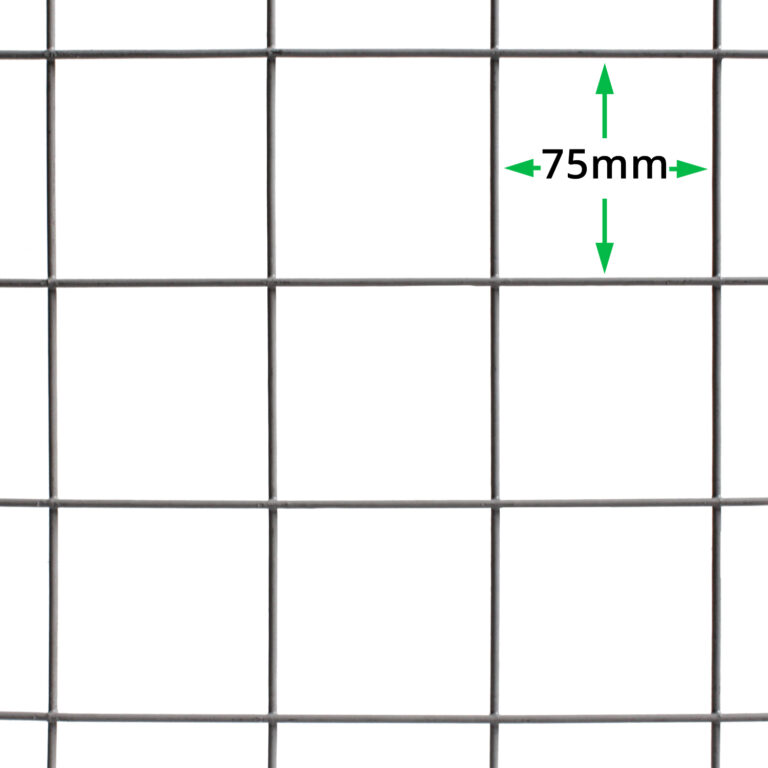
| Mesh size range | 75mm x 75mm |
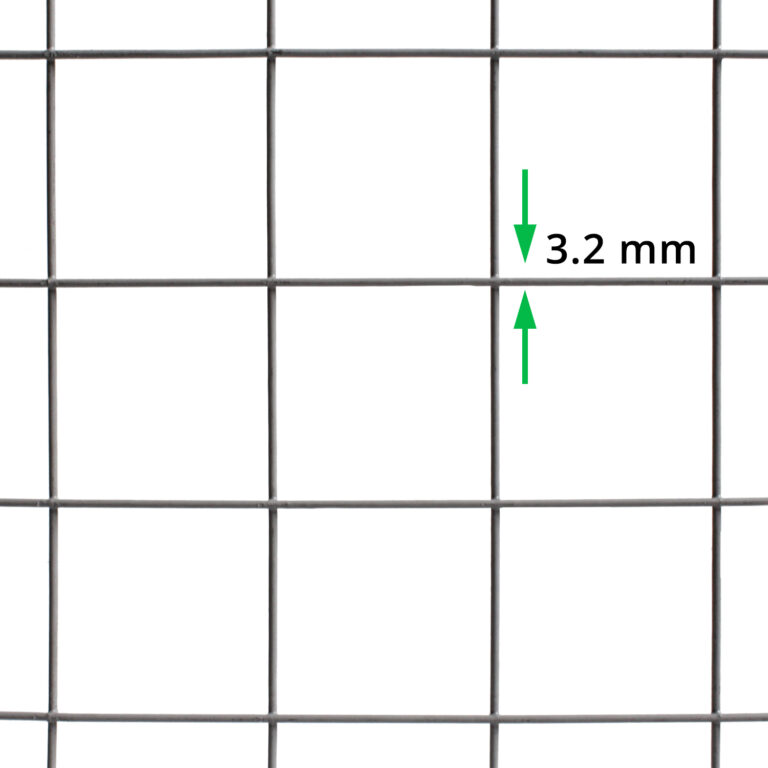
| Wire thickness range | 2.7mm (3.2mm with PVC coating) |
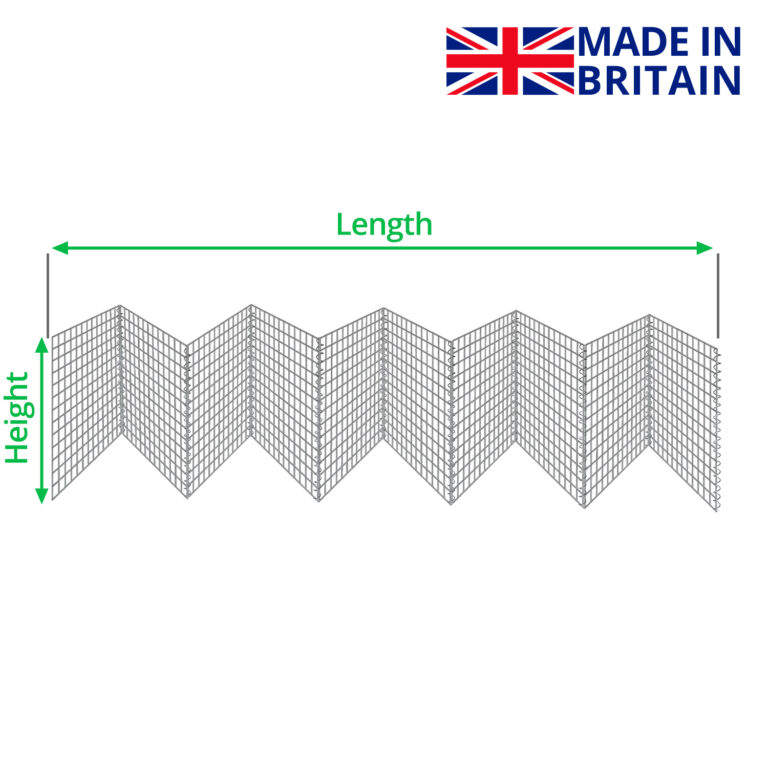
| Height range | 97.5cm – 150cm |
| Length range | 1m – 10m |
| Weight range | 2.7kg – 28kg |
| Appearance | |
| Colour | Grey |
| Aperture shape | Square |
| Blends into environment? | |
| Can be painted? |
– with spray paint
|
| Handling | |
| Rigidity | Heavyweight |
| Cut with | Heavy duty wire cutters / bolt cutters / hacksaw / grinder |
| Bend with | Heavy duty pliers |
| Gloves required? |
| Durability | |
| Lifespan | ~120 years |
| Resistance to | |
| Corrosion | Excellent |
| Abrasion | Good |
| Chemicals | Good |
Standards
| Conforms to | Explanation |
| BS EN 10244 – 2:2009 | Inner wires are Galfan Coated (95% Zinc / 5% Aluminium) in accordance with BS EN 10244 – 2:2009 (Class A). |
| BS EN 10245 – 1:2011 and BS EN 10245 – 2:2011 | Inner wires are coated with organic polymer powder coating (grey) which complies with BS EN 10245 – 1:2011 and BS EN 10245 – 2:2011. |
| BS EN 10218 – 2:2012 | All wires used in the manufacturing process have a tensile strength between 540 – 770 N/mm², as specified in BS EN 10218 – 2:2012. |
Pack Includes
| Items | Included? |
| Mesh panels | |
| Spiral panel connectors | |
| Extra spiral panel connector (to use as modular extension) | |
| Fixings to wall / wood / other fencing |
Recommended Applications & Uses
| Residential applications | |
| Garden | |
| Camping | |
| Indoors |
| Industrial applications | |
| Parks | |
| Dog shelters |
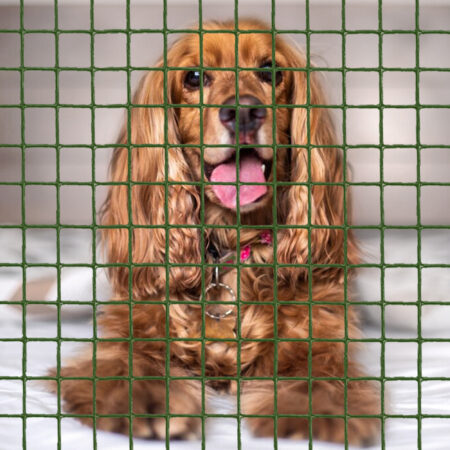
| Animal proofing | |
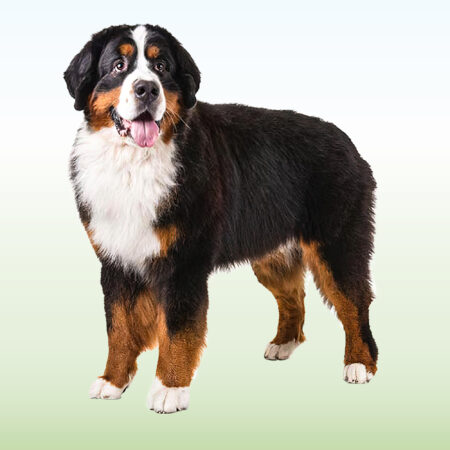
| Dog proof | |
| Dog deterrent | |
| Very small dogs (chihuahuas, yorkies etc.) | |
| Energetic dogs (keen to jump, dig or paw) |
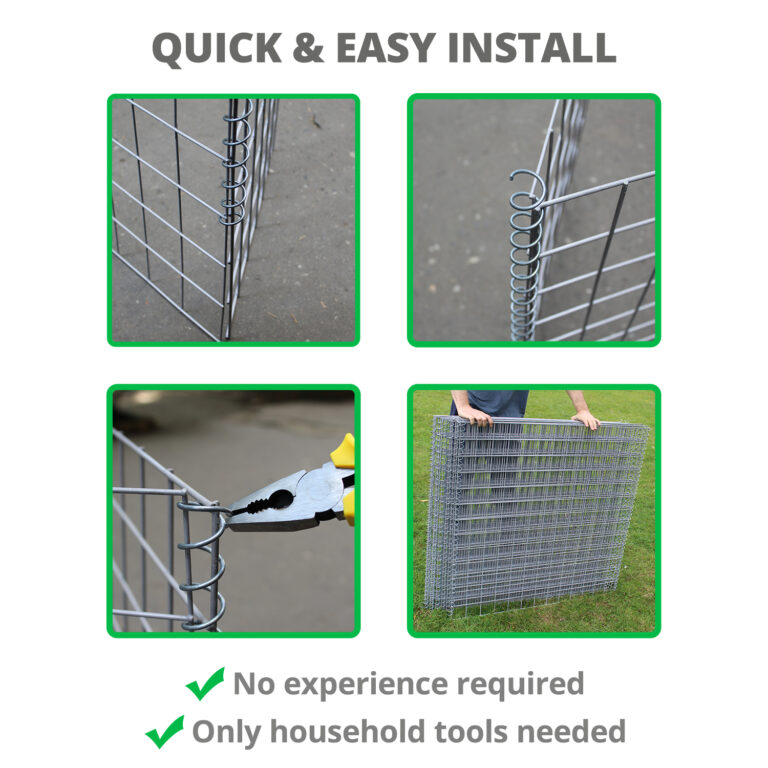
Assembly Instructions
| To Do | Explanation |
| Step 1 – Preparation
|
Unpack the barrier kit and count all of the parts.
You should have the same number of panel connectors and panels. |
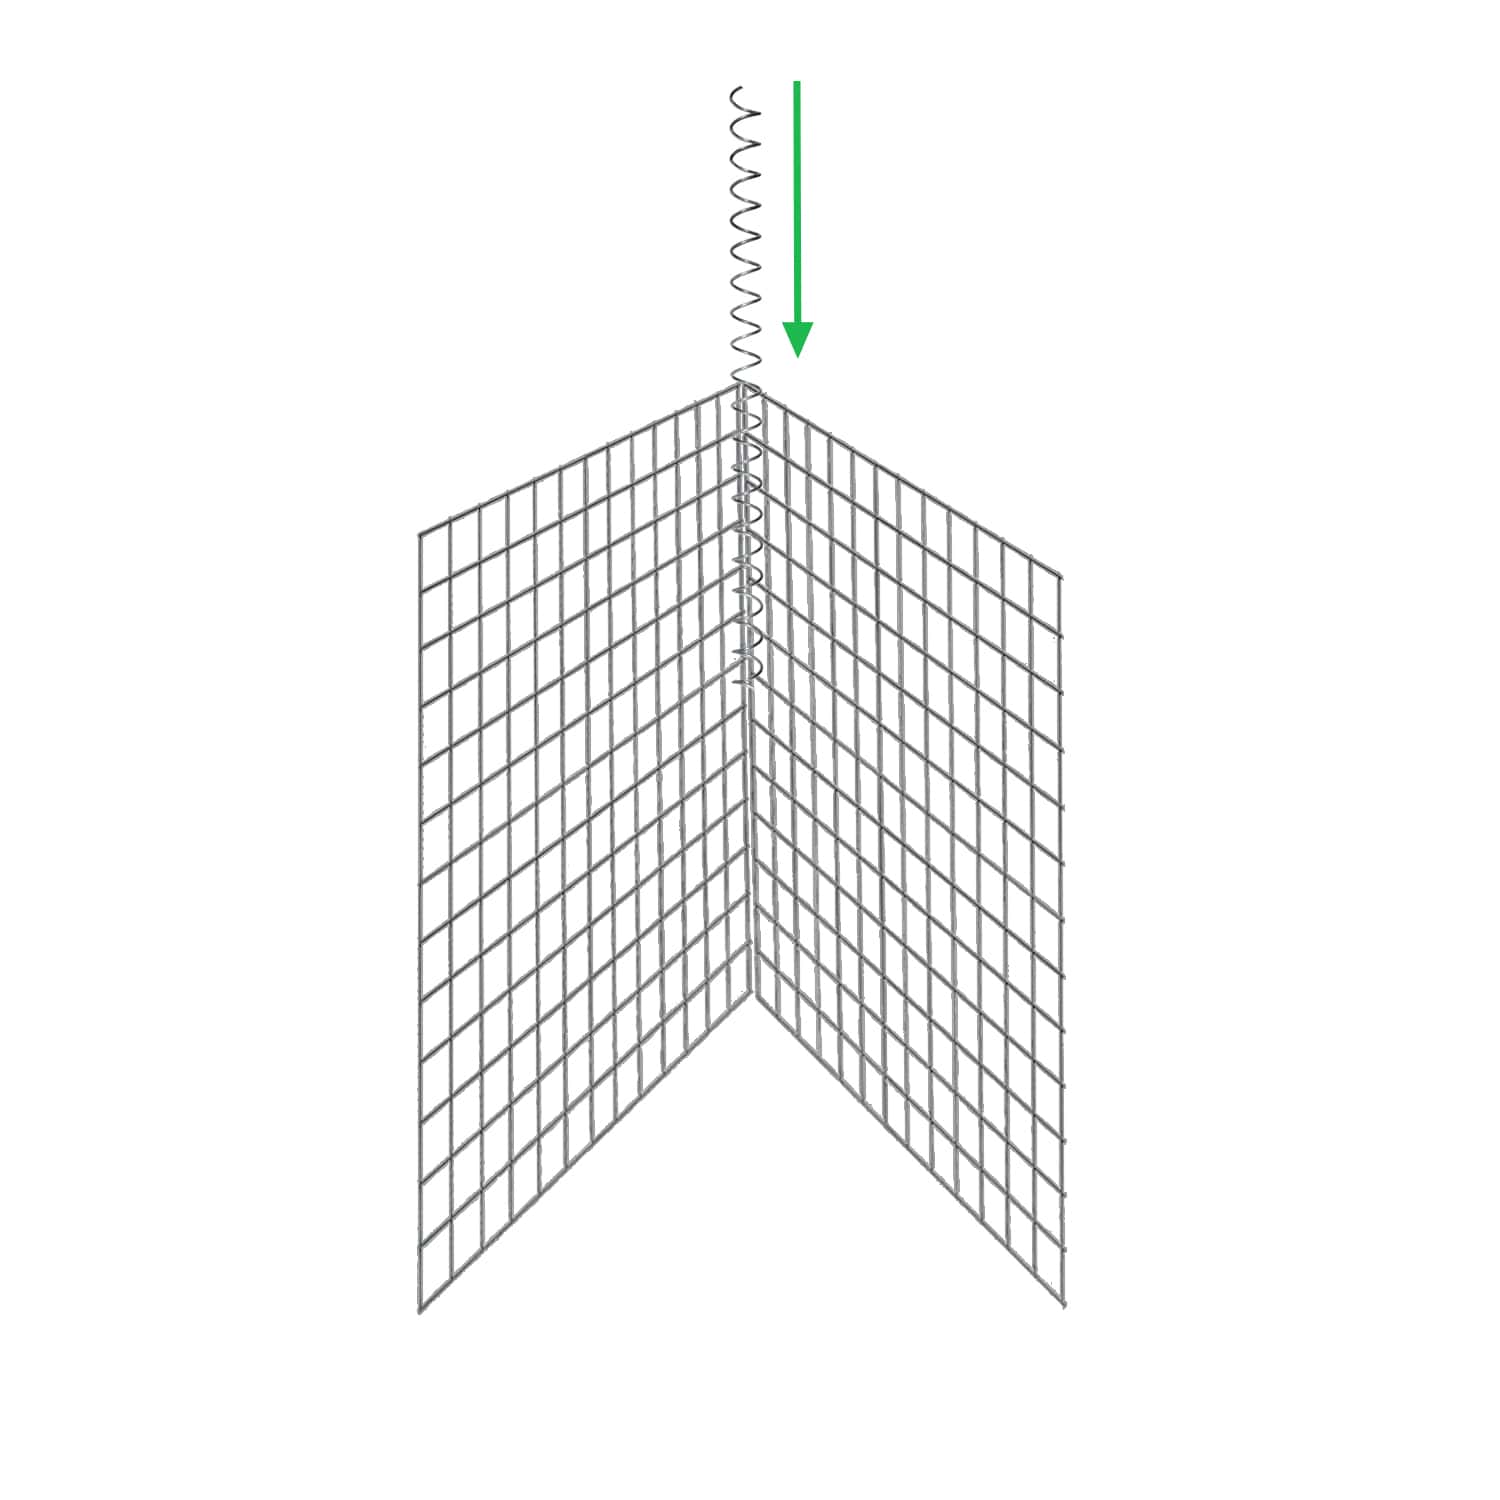
| Step 2 – Connect panels
|
Connect the panels by twisting the connectors down the joints. |
| Step 3 – Connect all joints
|
Repeat Step 2 to connect all joints. |
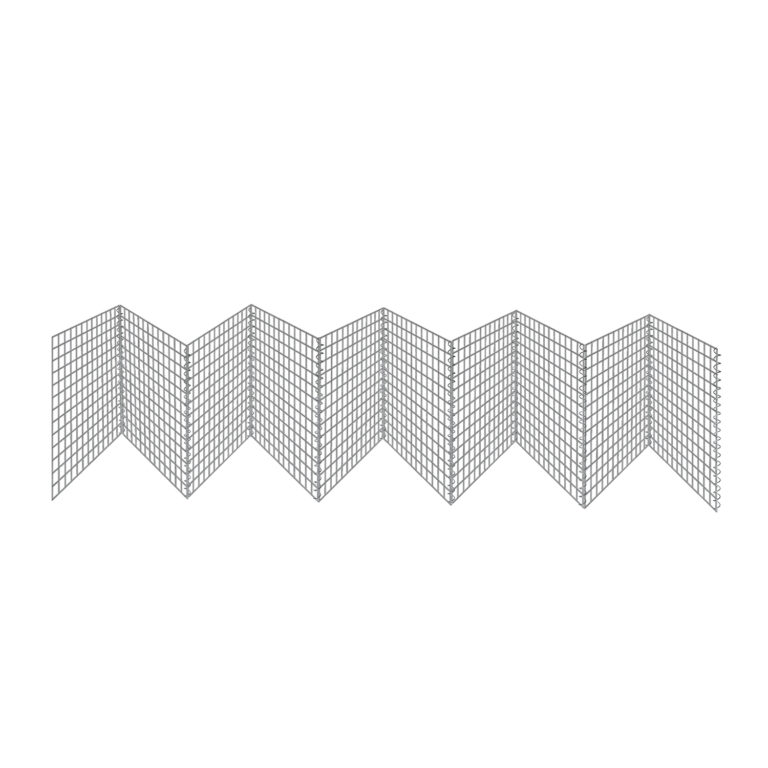
| Step 4 – Fold down wires
|
To make the structure safer for your furry friend(s), fold down the top of the spiral connector so that no pointy wires are poking out of the top of the fence. |
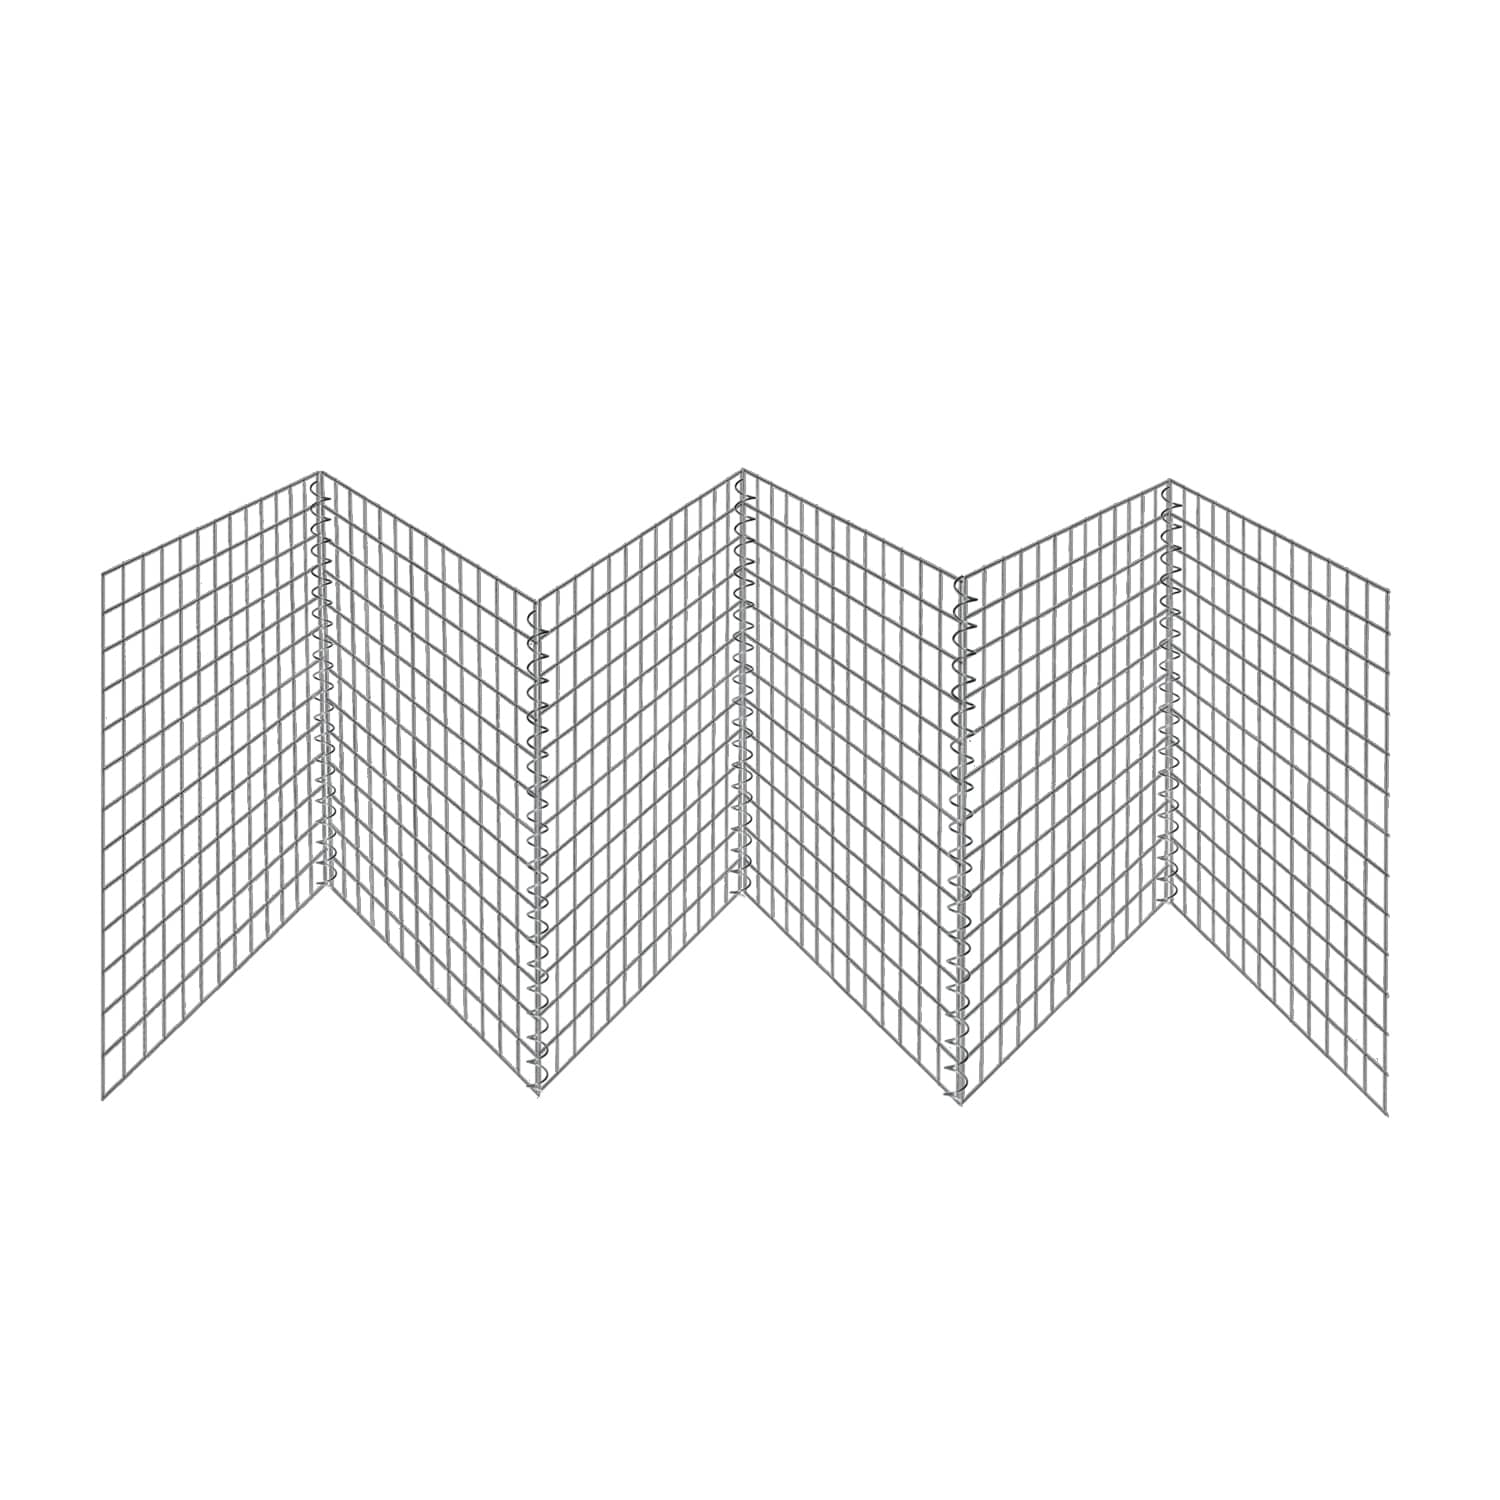
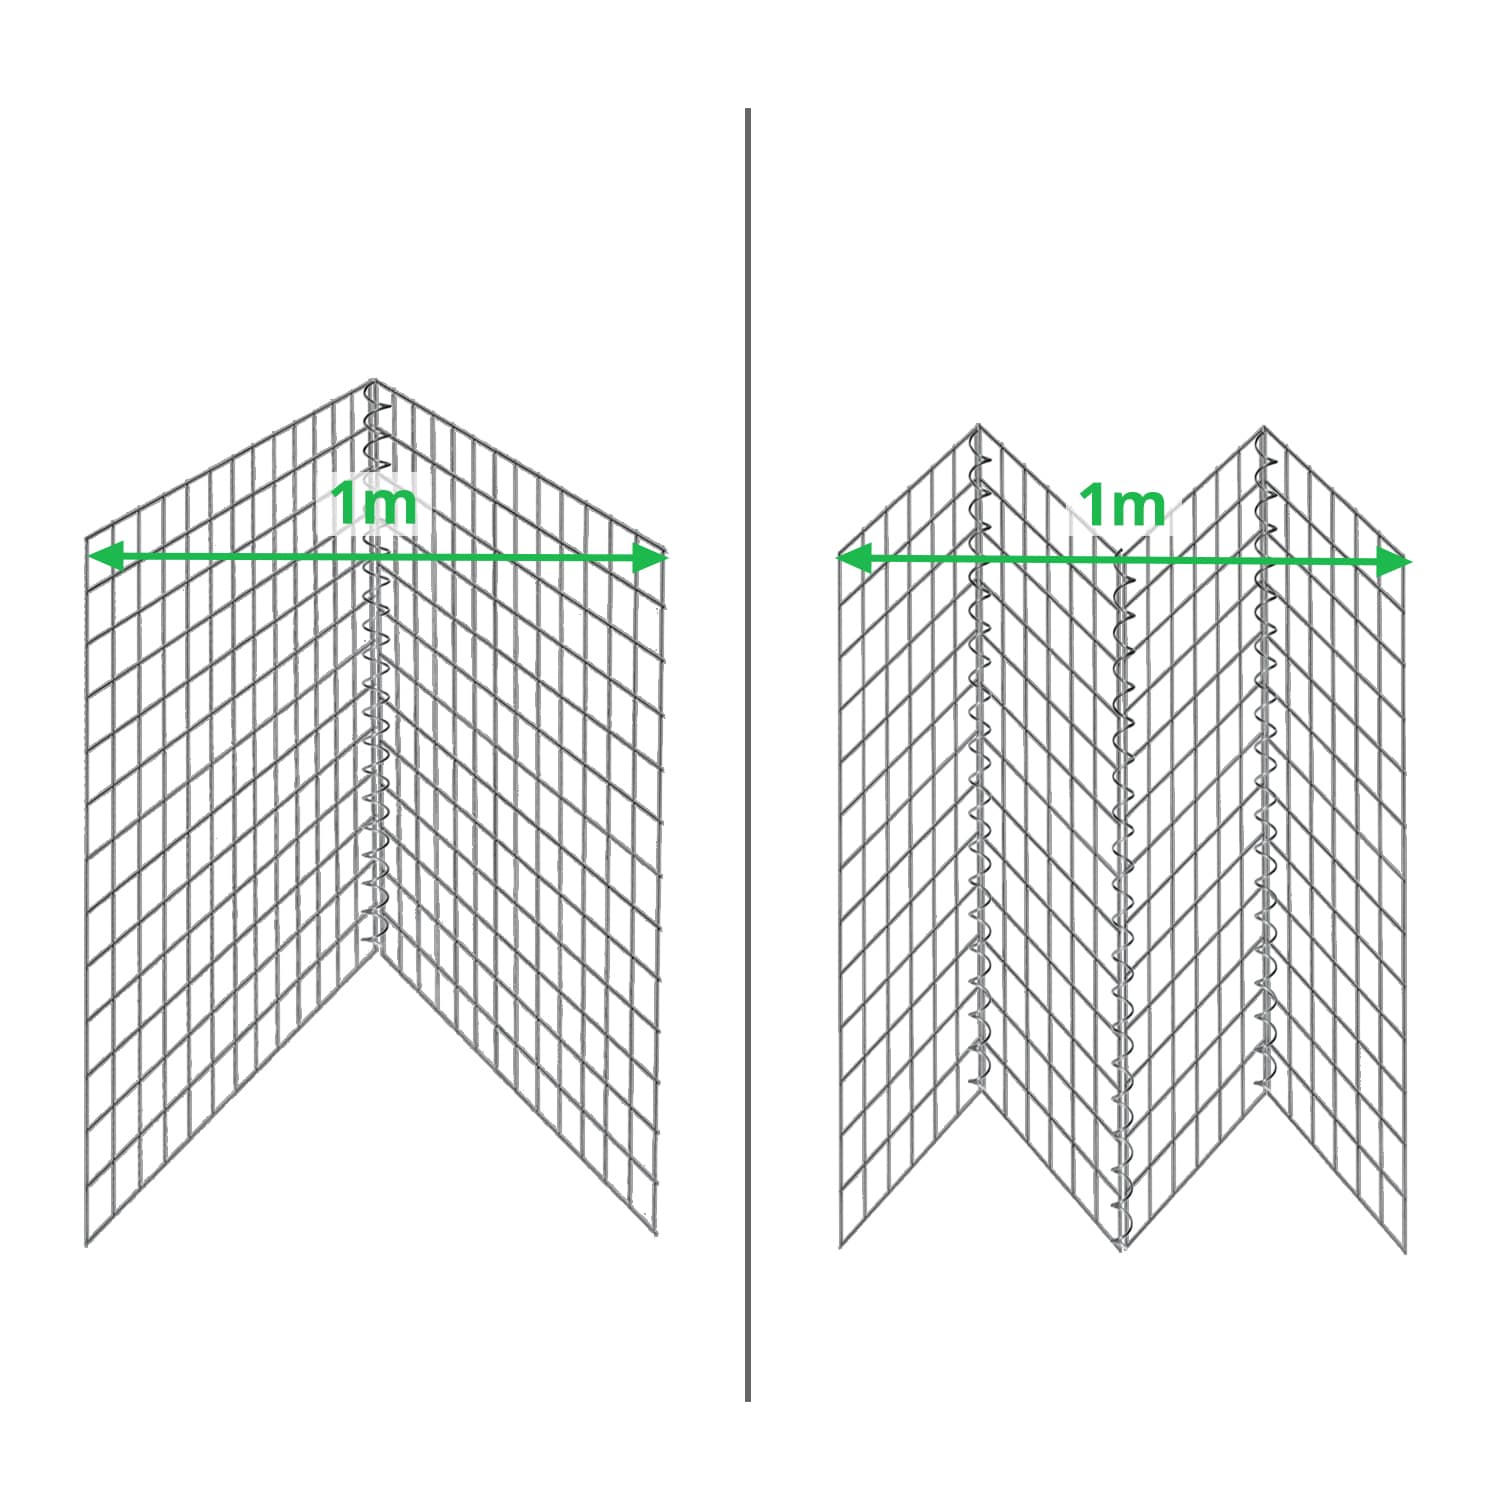
| Step 5 – Adjust length
|
The panels can now be readjusted to be freestanding. 1m length of foldable fence can be achieved by:
NOTE: Smaller or bigger angles can be used as long as the barrier is freestanding, and depending on the area you’d need to fence in. |
| Step 6 – You’re done!
|
You can let your canine out and watch them enjoy their freedom safely from behind the free standing dog barrier. 😀 |

Use as extension
| To Do | Explanation |
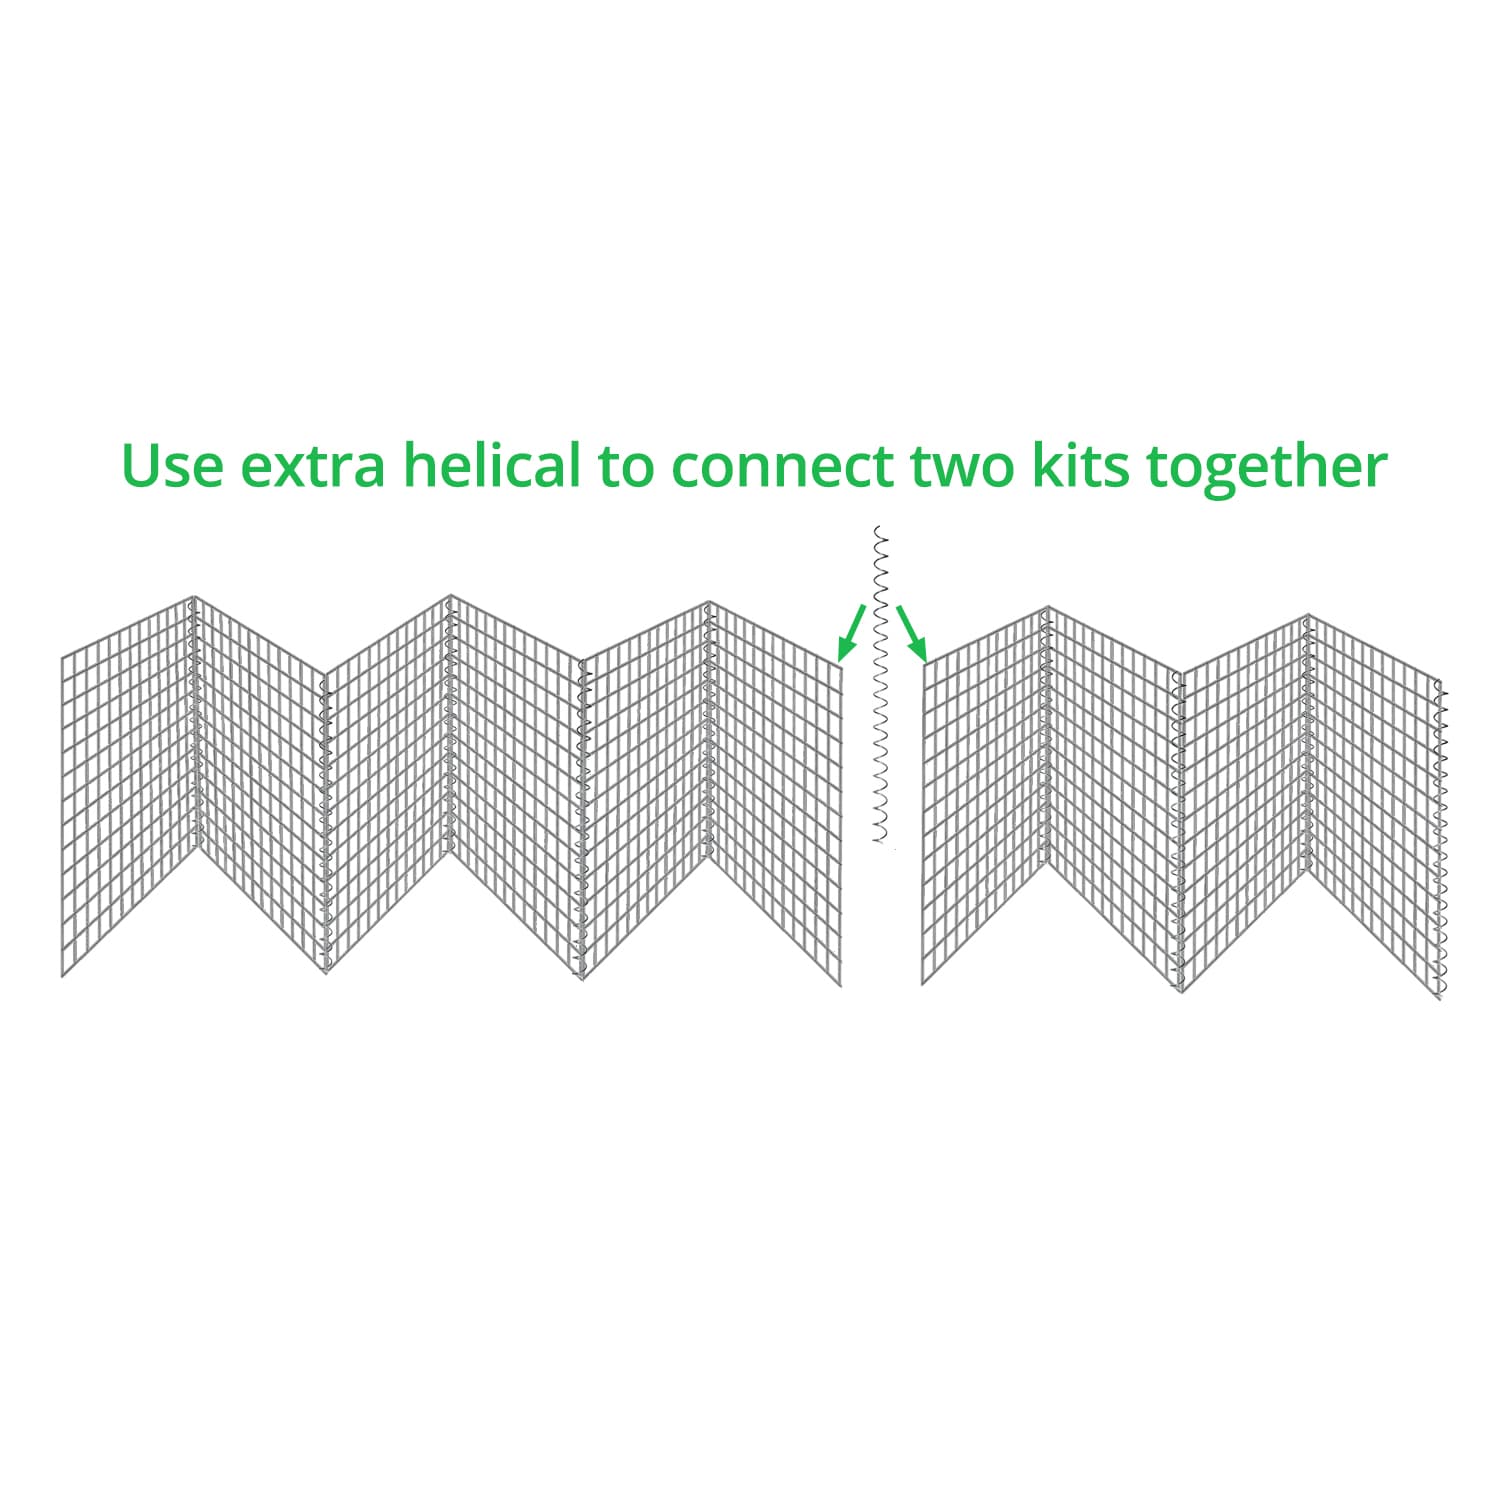 |
With the extra helical connector, you can attach one kit to another to create custom lengths of free standing barriers with ease.
NOTE: You can use the same technique to attach the kits to most types of wire mesh fencing as well. |
Use as fencing
| Explanation | |
| These kits are also suitable to be used as easy-to-install regular fences, but for this, it would be necessary to attach them at both ends.
How to attach to different materials:
|
|
Reuse as required
| To Do | Explanation |
|
|
You can use this kit as a temporary barrier and fold it up whenever it’s not required.
You can even take it camping with you and create a portable enclosure in case your canine is not very keen on escaping. Example installation of a similar temporary pen can be found here. |